Nonna Rita’s Honey Cookies
|
|
Time to read 3 min
|
|
Time to read 3 min
My Nonna Rita had a serious sweet tooth.
As a kid, every time I’d visit her cucina, she’d sit me down at the table and walk over with a tray of cookies.
Some of them were store-bought favorites ranging from ladyfingers to chocolate chip cookies. Just ask my mom — the cookie aisle was Nonna’s favorite! But the best cookies were the ones she made herself.
Over the years, Nonna explored all sorts of other North American treats, from jelly-filled donuts to Honey Nut Cheerios. Here’s a fun example of her commitment to the sweet life: long after her doctor had told her to stop eating so much sugar and cut out cereal altogether, she’d still prepare a little bowl of Cheerios for our family dog Luna.
Every morning, Luna would get a burst of energy and run full speed to the kitchen. Nonna would smile, ask for a paw-shake, and ask, “Vuoi Cheerios?” (Do you want Cheerios?)
With just as much of a sweet tooth (that the rest of the family was always trying to curb), Luna would look into her eyes. Somehow she was telling her, “Sì, Nonna. Sì.”
It was a literally sweet bond the two of them had. And Luna wasn’t the only one Nonna kept making treats for. Long after she could enjoy them (without a scolding) herself, Nonna would continue to bake cookies and sweets for the rest of us.
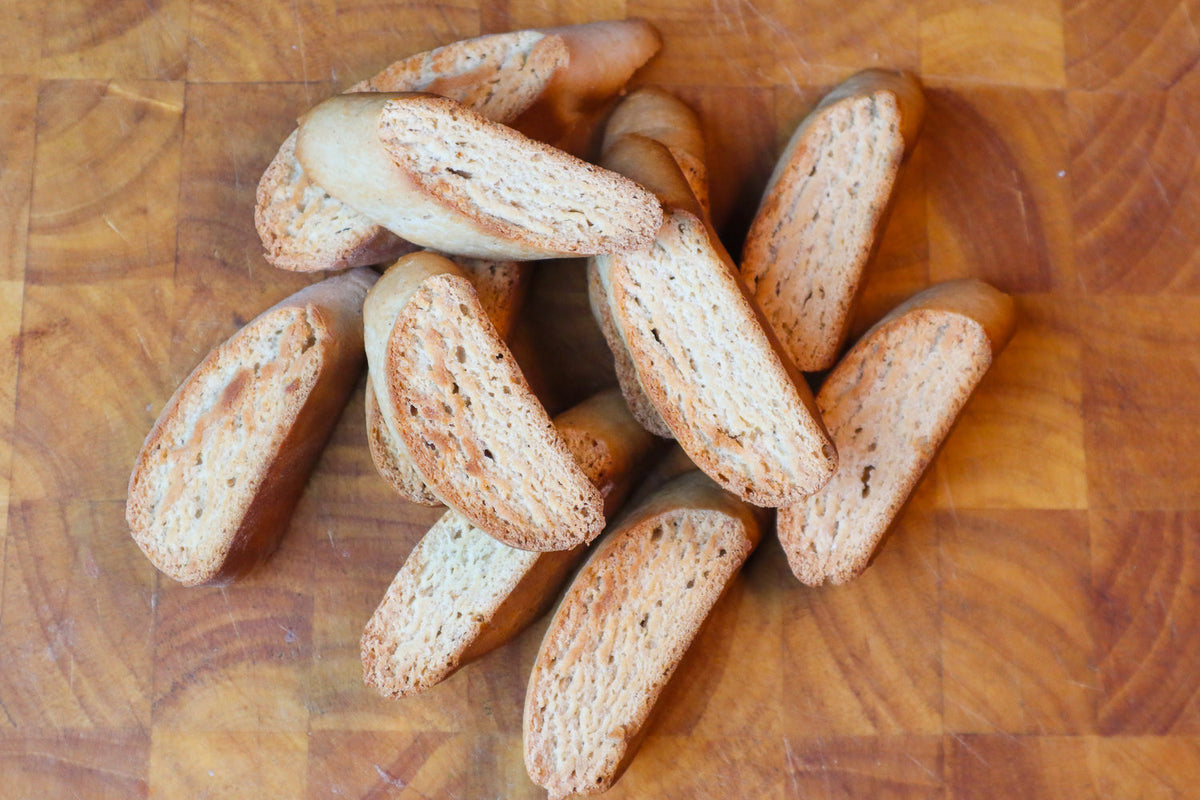
Nonna Rita’s honey cookies were one of those sweet treats that filled the house with the scent of honey. These biscotti often appeared on the table after a long family meal.
There’s nothing better than serving crunchy, delicious honey cookies for dessert or bringing a plate over for your friends to enjoy with a hot cup of espresso. Plus, it’s a delightfully easy recipe.
Let’s pay homage to Nonna Rita’s sweet tooth and make some honey cookies for our latest installment of Calabrese Cooking with Nonna.

20 minutes
50 minutes
60
5 eggs
1 cup honey
½ cup sunflower oil
1 cup sugar
1 teaspoon baking powder
1 teaspoon cinnamon
Juice of 1 lemon
6¼ cups all-purpose flour
Preheat oven to 300 degrees Fahrenheit.
Crack the eggs into a large bowl. Add sugar slowly and use a mixer to combine with the eggs, until fluffy. Add the oil and honey and mix until combined. Add the baking powder, cinnamon, and lemon juice and mix until combined.
Now, begin adding the flour little by little. When it gets too hard to use the mixer, start using your hands. The batter should thicken up until it forms a solid dough.
Spread a handful of flour on a large cutting board. Cover your hands in flour, then put the dough on the cutting board and begin rolling it out until you can separate it into four equal parts. Roll out each of the four parts into a thin log shape of about 1.5 x 15 inches.
Put the logs on a baking tray covered in parchment paper. The dough doesn’t spread too much, so you can usually fit two of the logs on a single tray without worrying about them growing into each other in the oven.
Bake the logs for 30 minutes or until the bottom starts to brown. Remove from oven and cut the logs diagonally into diamond shapes about 1-inch thick. Then, lay the diamonds on their sides. Put them back in the oven for another 15 minutes until golden brown.
After the 15 minutes is up, take the cookies out of the oven and flip them onto their other side. Put them back in the oven for another 5 minutes. Flipping the cookies helps them bake evenly so that you achieve a beautiful browning on all sides.
These cookies will last up to two weeks when stored in an air-tight container — but they’re so yummy they don’t usually last that long!
